Prius Chatter Cheap! took the bull by the horns and came up with this solution to the car not "hearing" his passenger very well. It turns out that these mics are directional, and the one from the factory aims at the driver, AWAY from the passenger, of course. The solution was to install the Euro version of the mic on the passenger side (driver side in England!) in parallel with the North America version. There is a holder for both, we just need to buy a second mic, and gang them together.
Part number 8625047020 is for cars with the production date
between 8/03 and 11/05.
Part number 8625047040 is for cars with the production date of 11/05 or later.
I ordered from Toyota
World. $46.54 + 7.50 shipping.
Thread
on PC
Entering
the Diagnosis screen (When you get to the “Diagnosis Menu”
screen select the “Bluetooth TEC Check” screen, then “Handsfree
Voice Quality Set.” Finally you can set the “Send Voice Level”
up to “5.”)
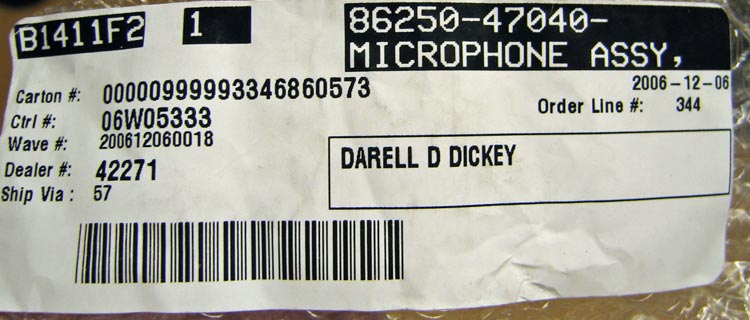
First step is to buy the new mic. Here's the custom "Darell"
unit for my 2006.
Here are a couple of shots from Cheap! that show the new mic,
and the orientation and location of the mics in the NA ceiling fixture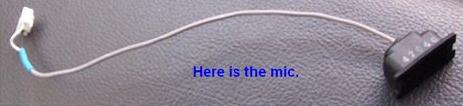
![]()
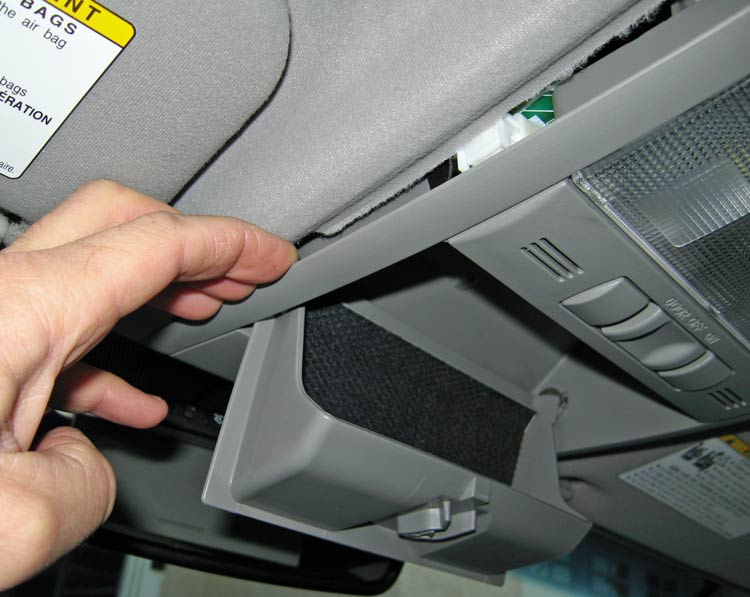
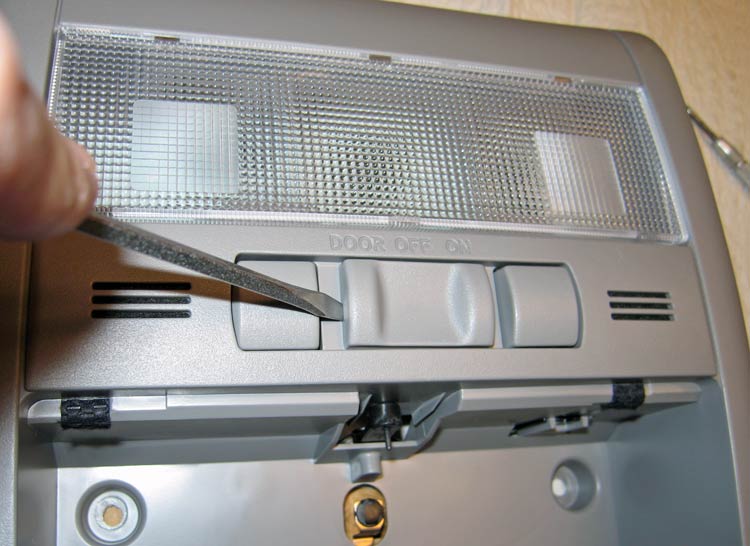
First step is to remove the dome light/glasses holder fixture.
Open the glasses holder and remove the two screws.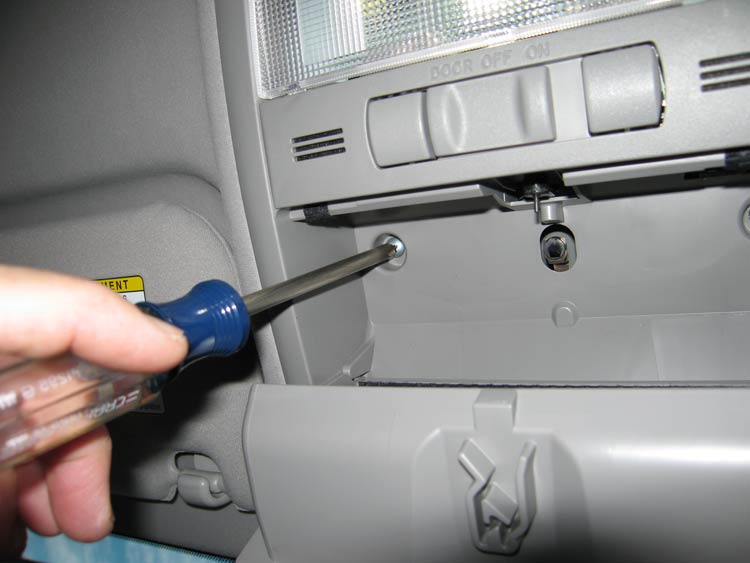
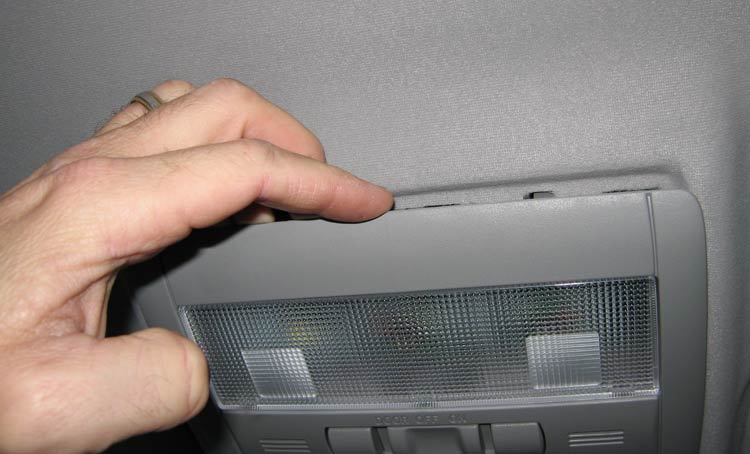
Yank down on this edge to release the front clips (one on each
side that you'll see later in the "removed" shot.")
The part that I found to be difficult the first time (this is
NOT the first time I've been in here!) is pulling this back part down and
out of the clips. Feels like you'll break something. But there's no other
way... you've just got to yank until it lets go. It'll be easier next time.
Presto. Here's what you're after. The four white clips are what
you just removed.
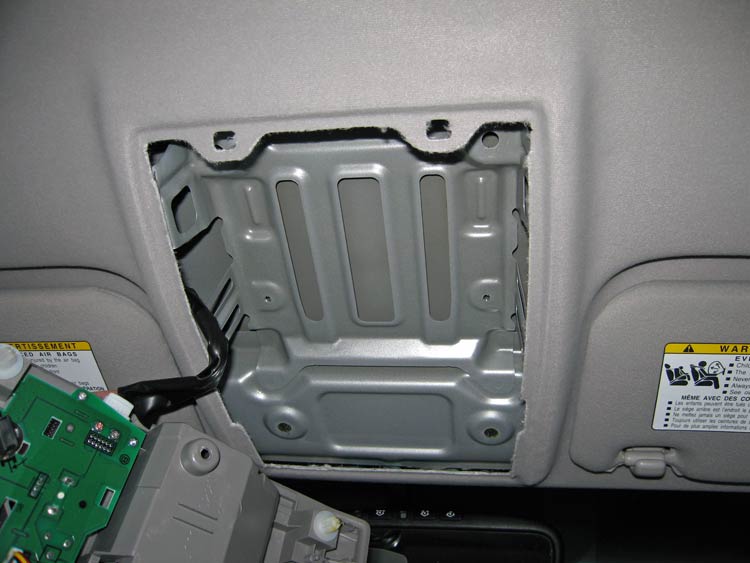
And there's the holes where the clips came from.
Pull this harness off the side and you can take the entire assembly
to your work bench instead of working over your head.
Flip the unit over and pop off this slider. Just held on with
friction.
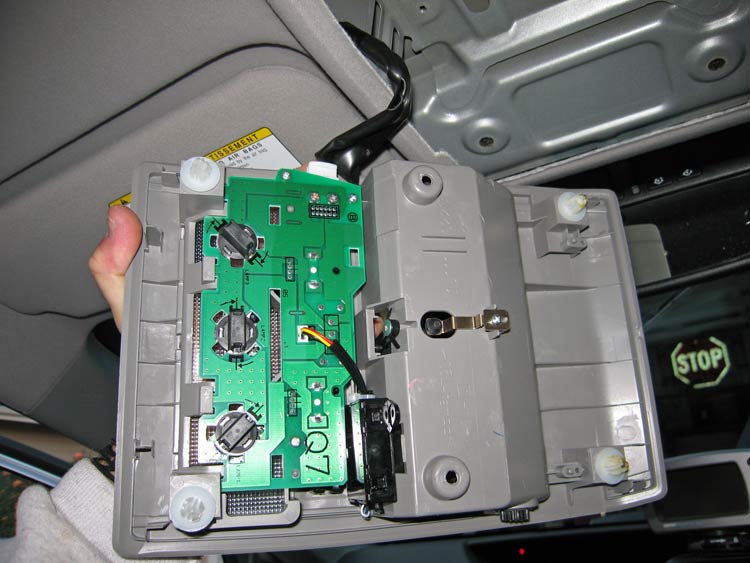
Flip back over and remove the three screws that hold the circuit
board.
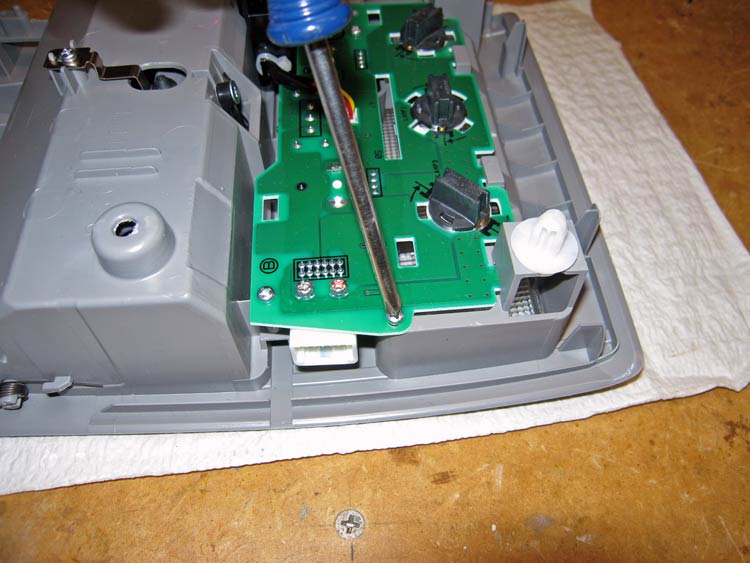
Pull up on this edge, and slide the whole board toward where
my finger is shown to release the front tabs.
Pry that middle connector out of there at some point, so the
board is free.
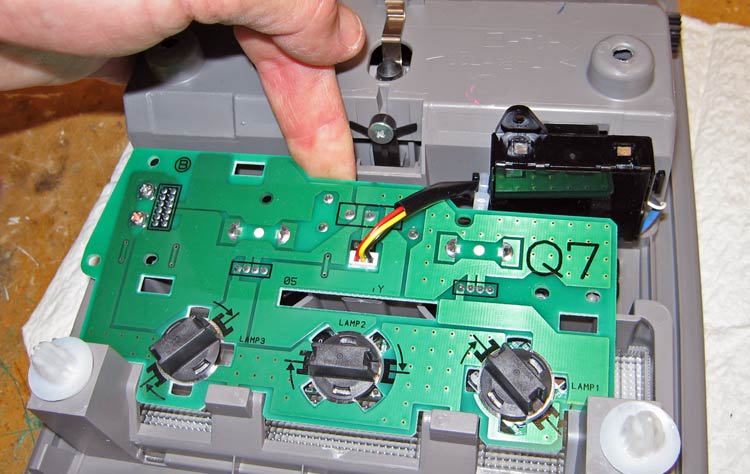
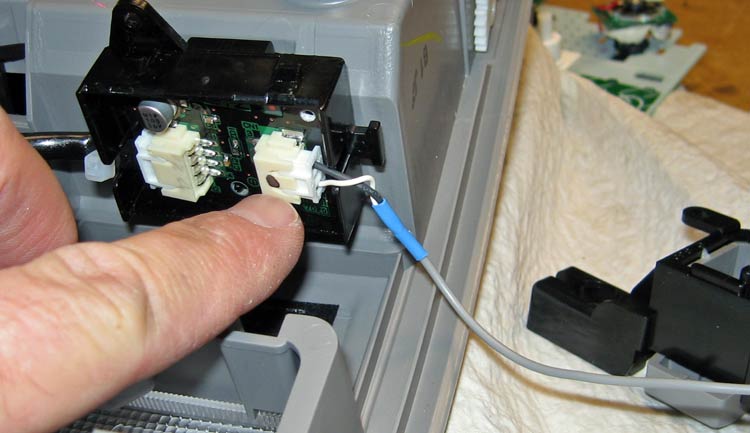
Flip that board out of the way, and here's the driver-side mic.
You'll notice that on the other side of that black microphone bracket, there
is an identical holder that is empty. What are those odd looking dome lamps?

Pull that whole black mic bracket out of the fixture, then pry
off the four catches of this little box. The amplifier is in here.
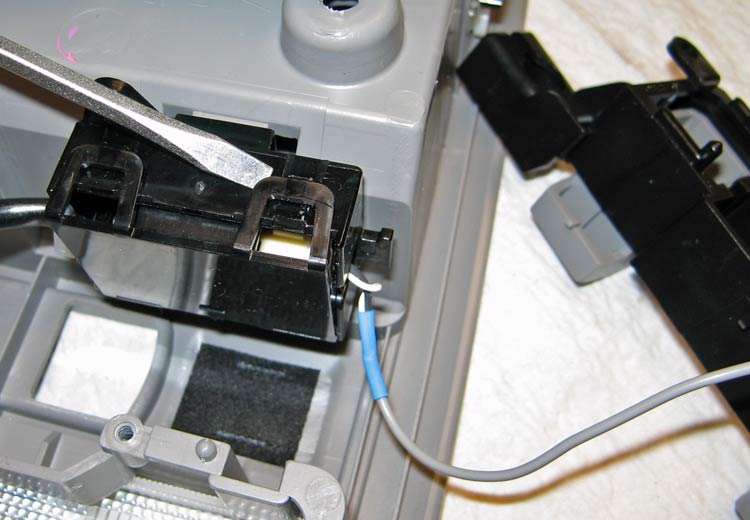
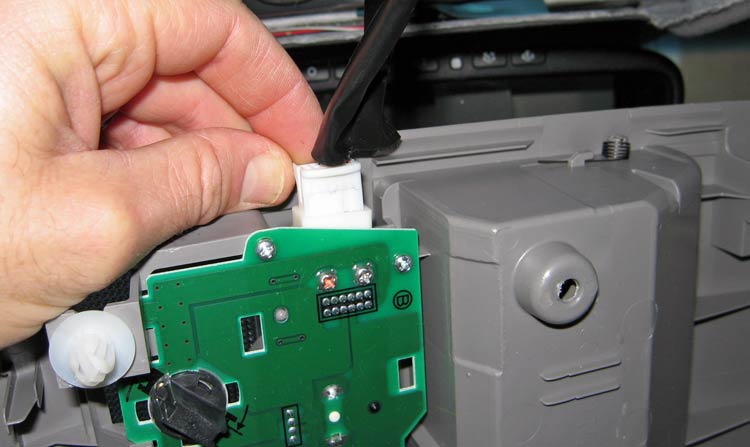
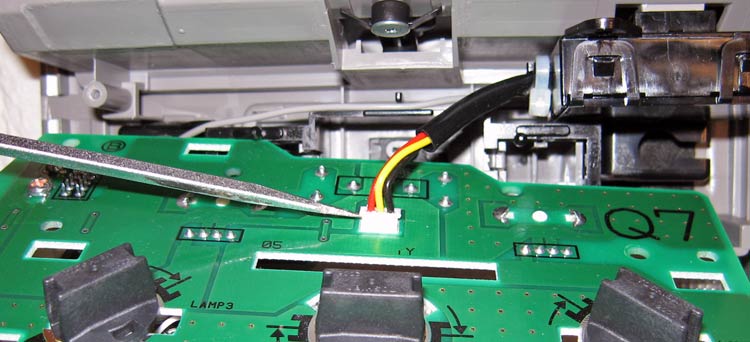
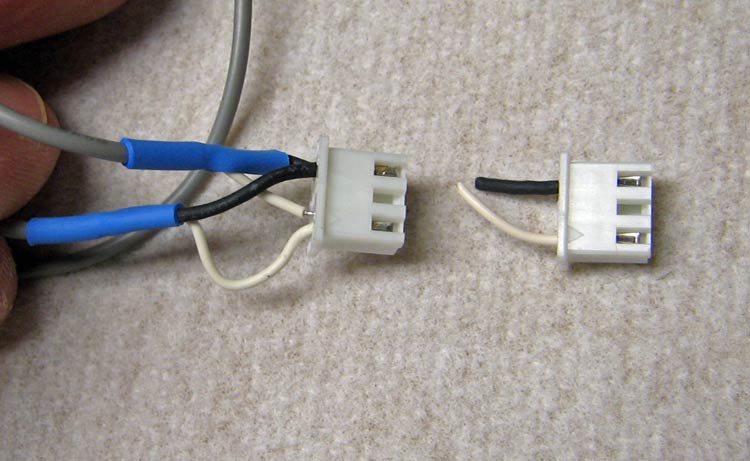
Pull the amplifier board forward, and disconnect this mic harness.
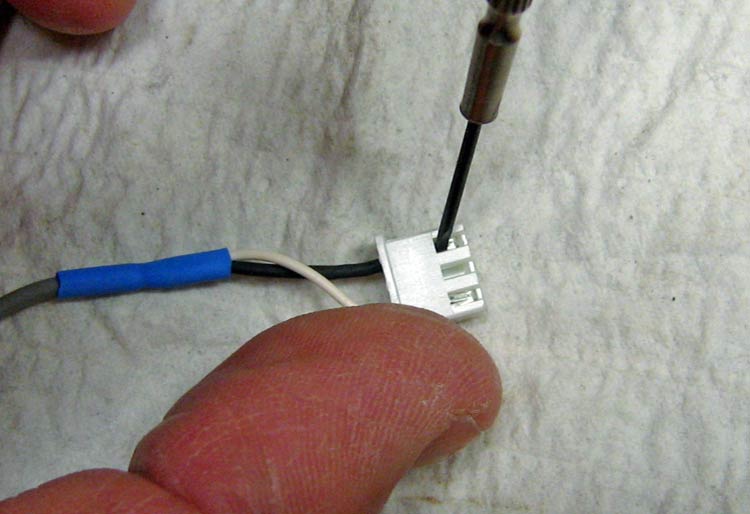
With a tiny screwdriver, release the pins in the mic connector,
and pull the wires out.
Cut and strip the wires of the second mic (maybe even get a
manicure if your nails look as bad as mine) and solder the new mic wires to
the original mic pins. This is the only part of the whole project where a
bit of skill is needed!
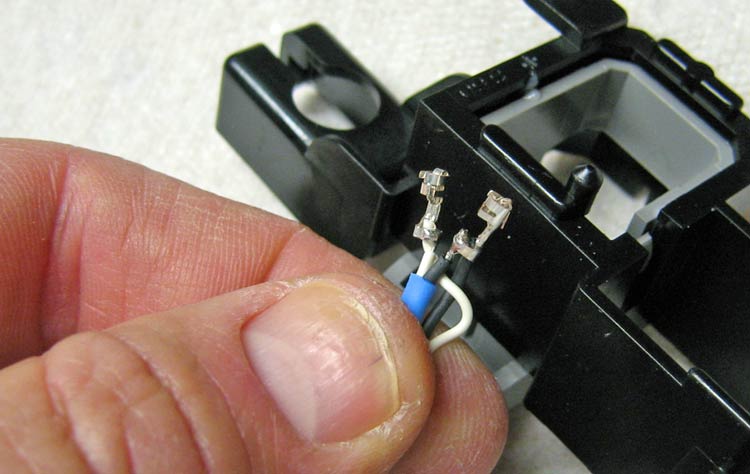
Plug the original pins back into the connector in the same orientation.
I just compared my wire orientation to the connector I snipped off the new
mic. Might find a use for that connector of pins in another project. You never
know.
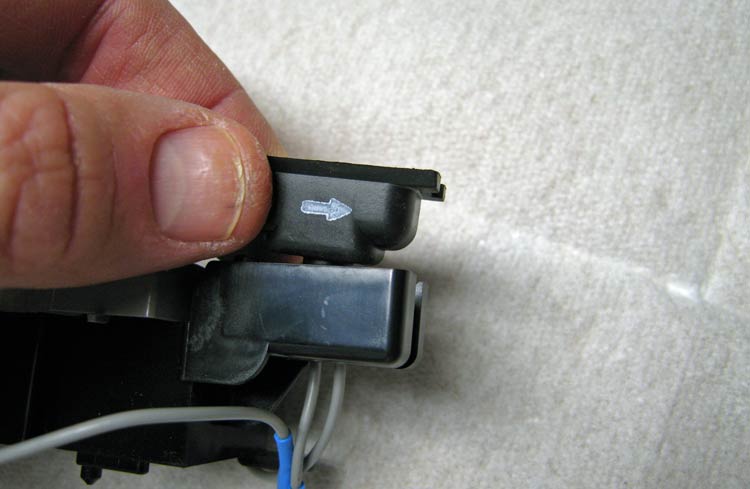
Notice that the microphones have arrows that apparently demonstrate
their directionality. Put the new mic in the passenger side of the holder
with the arrow facing out. (Oops, still no manicure).
Now just snap and screw everything back together, and you're in business. At least that's the plan.